Saturday, August 18, 2012
New Mosaic Moments Post
Challenge time again! This time we were to use husk grid paper, page pattern 14 and either hand journaling, a download, or clear stamps. The layout called for sixteen 2 1/8" photos (or paper pieces) and my 2 1/8" punch sure came in handy! Sooooo much easier than measuring and cutting each one. I used the Summer Seals stamp set from Mosaic Moments for the corner treatments and the miniature roller coaster at the bottom of the page. The pictures are from my grandkids' trip to Kings' Dominion in Richmond, Virginia back in 2010.


Sunday, August 5, 2012
Summer Layouts
It seems like life if just now beginning to get back to normal following my mom's death. For a while (and still a little bit) it seemed like the world was whirling past me and I just couldn't keep up! I'm finally caught up on my Mosaic Moments assignments. I've used summer pictures for the last two so I thought I would post them together.
The first was for the 2nd July assignment - we were to use Navy grid paper, page pattern 60, and either one of the July free downloads, a list or doodles. Let me tell you - I had some challenges on this one! I went to a crop at the end of July and planned to finish the layout and get it posted the next day. Well, I got there and realized that I had left the pictures I planned to use at home! Arggh! Well, like all good scrapbookers, we move to Plan B. I found the pictures of Gavin at the beach that I was going to use for my August layout, but I figured I'd worry about that later! I was going to use taupe paper for that layout, but I needed to use Navy now. Hmm. So - I used taupe for the mattes! Then to spif it up a bit, I used some orange peel-offs to give it a little bling - it really helped bring out the orange too. Now - for the third element - I decided to use doodling because I was planning to use the July free download in my August layout. The store had a little fish stamp, so I doodled waves at the top and bottom and used Stardust Stickles to add a little more bling. I also hand-drew the title. In the end I really liked the outcome, but it took some doing to get there!
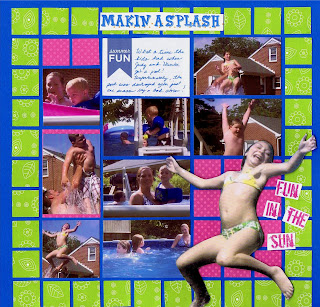
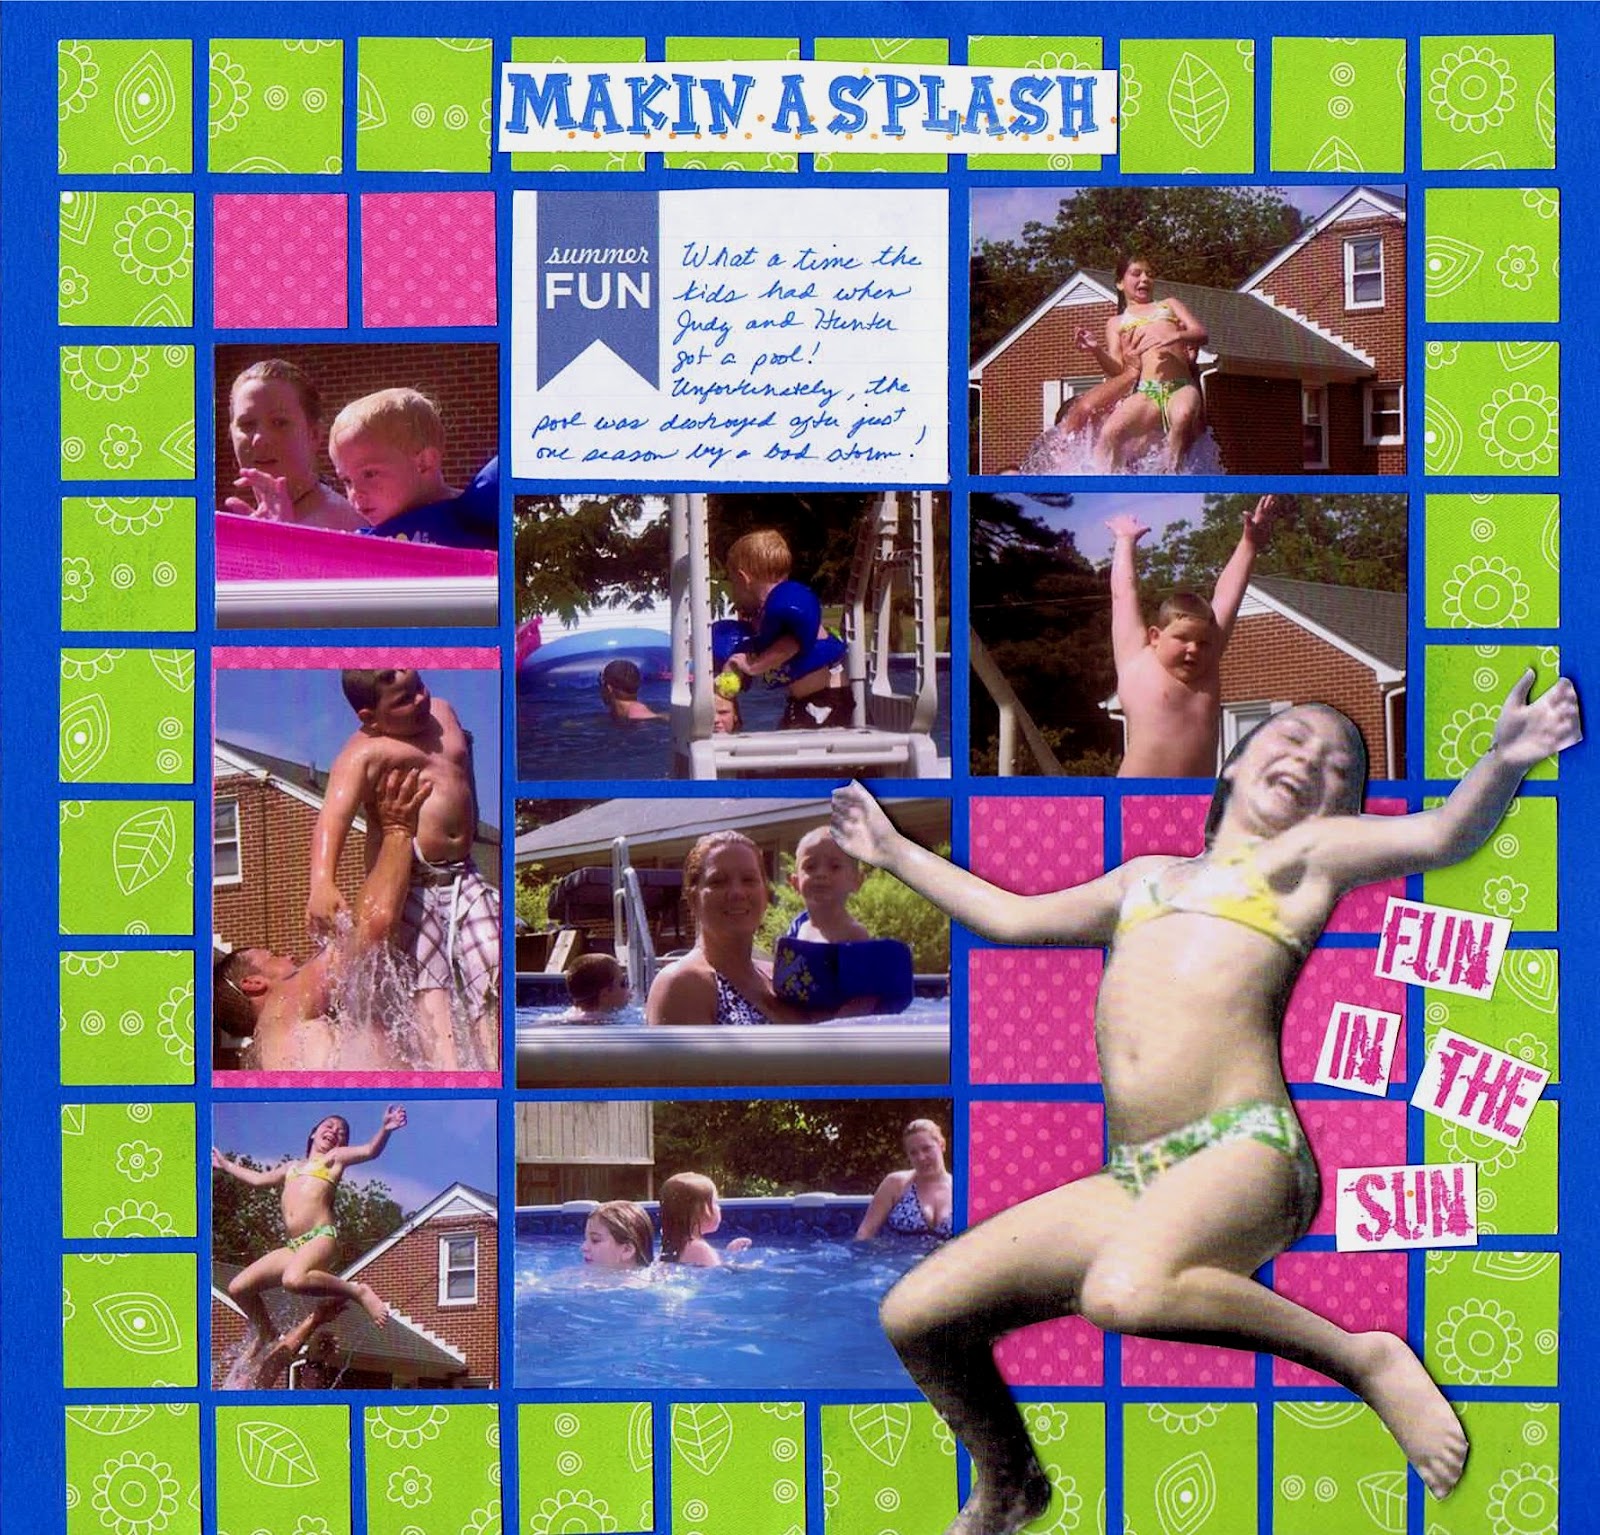
 The second layout for August was a photo challenge using pictures that said "Summer" to us. I used pictures from last year when Judy and Hunter got their pool. I decided it would be fun to enlarge one of the pictures and pop it up - I really like the effect!
The first was for the 2nd July assignment - we were to use Navy grid paper, page pattern 60, and either one of the July free downloads, a list or doodles. Let me tell you - I had some challenges on this one! I went to a crop at the end of July and planned to finish the layout and get it posted the next day. Well, I got there and realized that I had left the pictures I planned to use at home! Arggh! Well, like all good scrapbookers, we move to Plan B. I found the pictures of Gavin at the beach that I was going to use for my August layout, but I figured I'd worry about that later! I was going to use taupe paper for that layout, but I needed to use Navy now. Hmm. So - I used taupe for the mattes! Then to spif it up a bit, I used some orange peel-offs to give it a little bling - it really helped bring out the orange too. Now - for the third element - I decided to use doodling because I was planning to use the July free download in my August layout. The store had a little fish stamp, so I doodled waves at the top and bottom and used Stardust Stickles to add a little more bling. I also hand-drew the title. In the end I really liked the outcome, but it took some doing to get there!

Sunday, July 8, 2012
America The Beautiful

Our first challenge for July was to use a patriotic song as the inspiration for a page. I started thinking about the pictures I might use and knew pretty quickly that I wanted to use America The Beautiful. We have taken some wonderful pictures on our trips down South.
For the large background pictures, I used a photo of the Great Smoky Mountains in Tennessee. The three smaller pictures are of a waterfall in Georgia on the Turnpike, a picture of Shore Drive in Virginia Beach, Virginia from the beach behind our favorite restaurant, Duck Inn, and a picture of one of the trees in my neighborhood after a snowfall.
For embellishments I decided to adapt a folded star pattern to paper. For the banner below the title, I used 1" squares and folded in two edges. For the actual star embellishments on each side of the title, I used 1" by 1/2" pieces and folded in two edges to make triangles (by cutting off the other half, it cut some of the bulk). I then cut the gold circles using Spellbinders dies on my Cuttlebug.
First, adhere four white triangles to a 3"x3" base.

Next, attach four blue triangles to the white triangles.

Attach four more blue triangles in between the first four blue triangles.

Next, add eight red triangles next to each of the blue triangles

I was going to stop there, but when I cut the circles out of the gold cardstock with my die cutter, there was too much space left, so I added eight white triangles to the red ones. I then added the gold circle cut from gold cardstock. Then, using scissors, I cut around the circle.

The finished embellishment!

Sunday, May 13, 2012
Happy Mother's Day!
Happy Mother's Day everyone! This is a card I created for my mom and for a technique challenge at Paper Wishes. The technique itself I saw this month in Creating Keepsakes magazine. You use a doily as a pattern for piercing your paper, and then stitch it! I will definitely use this technique again!


Thursday, May 3, 2012
Just a quickie note - I had a great surprise yesterday morning - I won a contest on the Paper Wishes site - it was a Designer's Challenge to use a certain set of papers and their new design tool templates. I created this gatefold card and I won! $15 of Paper Wishes supplies - I'm going to get their new Ebony Color Me papers - they are resist papers with beautiful black filigree designs!


Mosaic Moments Design Team Assignment - April - Treasures from Mom's Jewelry Box

In April, our last challenge was to use this wonderful pink grid paper and to use Page Pattern #10. This was perfect for showing some of the treasures we found when clearing mom's house back at the end of March. There are several pieces of mom's jewelry that are very special to me - I wanted to be sure I recorded the stories about each piece. They aren't particularly expensive pieces, but they are priceless to me because of the memories.


Technique Challenge for April
Well, I'm a little late getting this posted to my blog, but better late than never! I promised to post the step by step instructions to the technique challenge for this month on Paper Wishes. We're chalking on white pigment ink!
First stamp an image using white pigment ink and allow it to dry completely. It's best if you use a stamp that has a good amount of solid area to color. I also like this technique on a dark background, although it will work on any color.


First stamp an image using white pigment ink and allow it to dry completely. It's best if you use a stamp that has a good amount of solid area to color. I also like this technique on a dark background, although it will work on any color.

Next, using chalk, or colored pencils, color in the white areas. You may wish to leave some of the colors white for contrast.


That's all there is to it! Simple, huh? But so effective! Below are two cards I finished up using this technique.

I tried spraying the bottom one with Smooch Spritz. I should have just sprayed the bottom layer and not the top piece - it looked a little too messy for me. Anyway - it's all about playing with your tools and learning what works and what doesn't - BE BRAVE!!

Subscribe to:
Posts (Atom)


 Posts
Posts