Sunday, May 22, 2011

Like It Love It Gotta Have It Technique for June - Pleating

This month we're going to explore pleating! I love the work that Anna Griffin does - and she does it so well. Below are my less-than-Anna-perfect attempts!


For the first one, I scored 1/2" then 1/4" on four pieces of paper 12" x 1" and made my folds:


Then I placed the four pieces just under the edges of my sentiment, making sure I had pleats exending past the edges on all four sides.


Then I cut the corners at a 45% angle to mitre the corners.


I then added the panel to my card, and added a few embellishments (which are great if one of your corners doesn't come out quite right!)


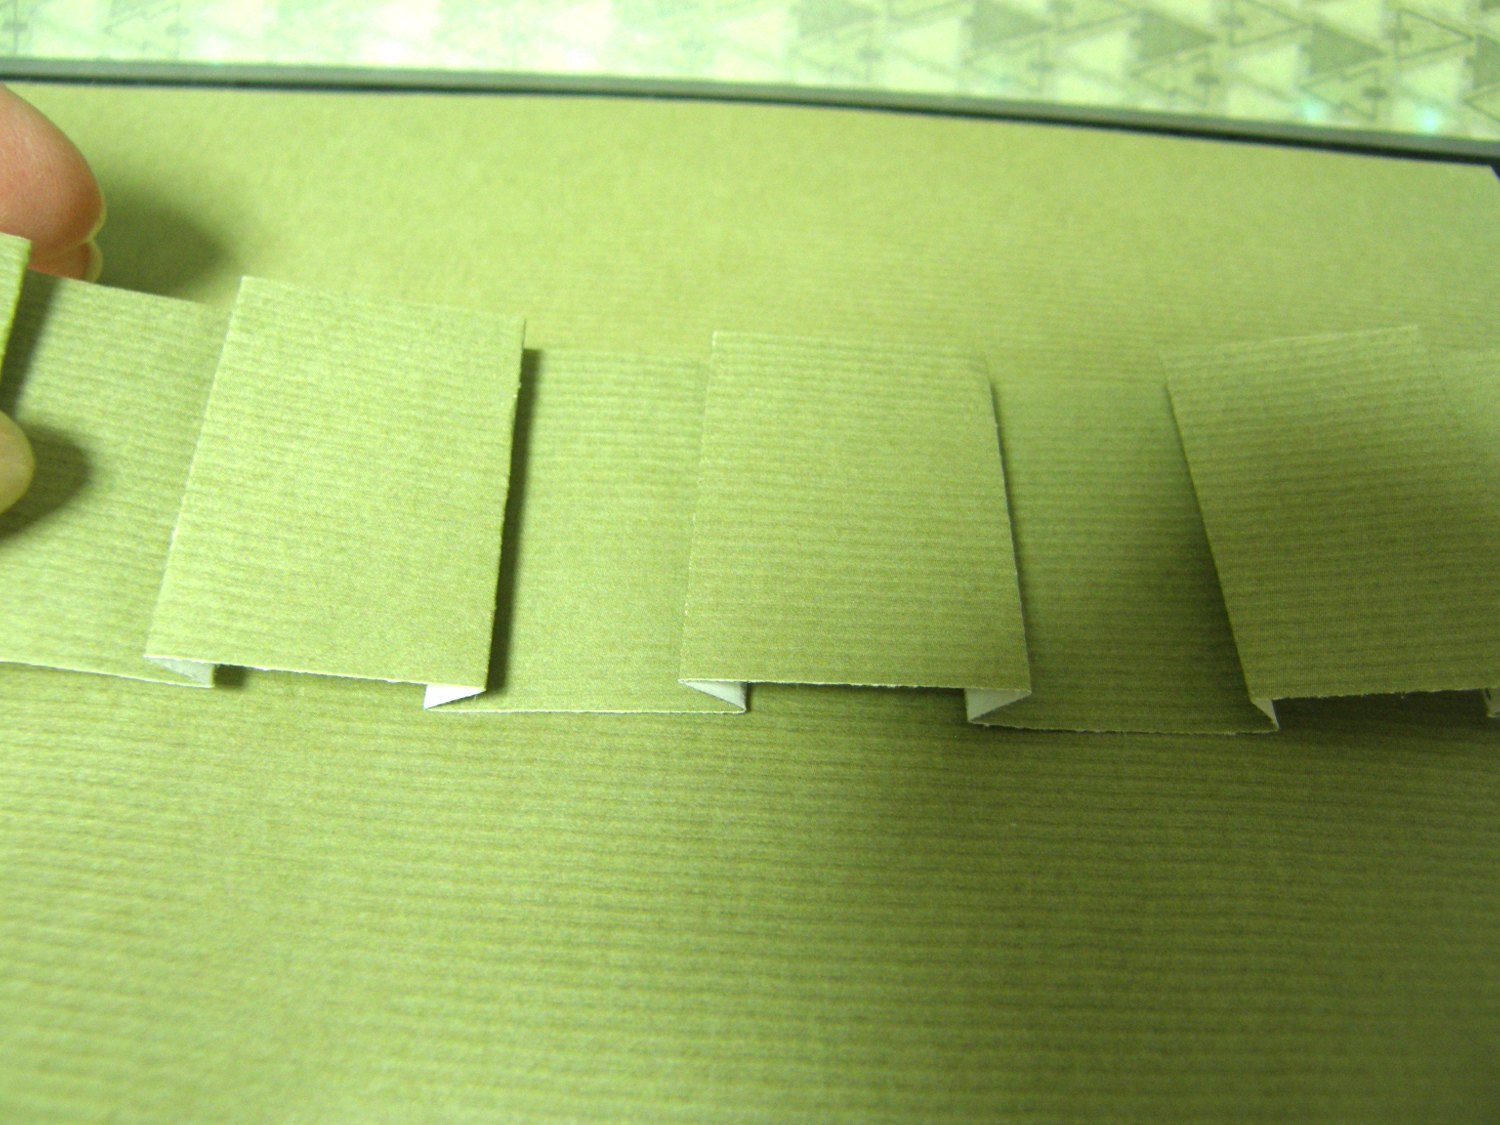
For the next card, I decided to do box pleats - I scored 1" then 1/4" then 1" then 1/4".


And folded like so:


I then added the strip to my card background.


I added a few border strips and a strip of Dazzles.


And here is the finished card:


Try this!


Like it - add a simple pleated border on a card or layout


Love it - try box pleats


Gotta have it - add layers of pleating and layers of borders for all kinds of interesting looks!


Wednesday, April 20, 2011

Like It Love It Gotta Have It Challenge for May: Black on Black

This month I'm putting a Paper Wishes spin on a technique I learned from Nathalie Metivier of Magenta. She teaches this easy technique using black embossing on black cardstock. I decided to see how black Dazzles would work and it worked like a charm! This looks nice as well using white Dazzles on white cardstock.

First, select the Dazzles you want to use and place them on your cardstock:


Then, just begin to put spots of color in different areas. I like to use the metallic and pearlescent water colors by ArtQuest. You can try this with Twinkling H20s, or Smooch too.


Now start with another color:


Continue with a third color if desired. You don't want to go too crazy with too many different colors! You'll want to blend the edges where the colors meet one another so the effect is smooth.


Here's another example where I colored in only the image, not the background:

Thursday, April 7, 2011

Another Mosaic

I just realized I didn't include the Jamestown layout in my last post! This is the one that was a challenge on Paper Wishes to cut out a center image and then use mosaic for the background:


Monday, March 28, 2011

Mosaic Scrapbook Pages To Share

I've been doing a lot of mosaic work lately - I bought a bunch of page kits on Black Friday and over the past couple of crops, I've used up most of them! I also had a challenge on the Paper Wishes Message Board to try cutting out an image and using mosaic for the background so I did that on one of these (the Jamestown one). Hope you like these - just posting some recent work to share with Family and Friends...
If you want to learn more about mosaic scrapbooking, click the Tammi Potter or Snap 'n' Crop icons on the right-side of my blog!


Saturday, March 19, 2011

Like It Love It Gotta Have It Challenge for April - Weaving

This month I decided to play with weaving a little. It's something I haven't done in years. I probably got introduced to this when I was in Junior Girl Scouts and we made our sit-upons - anyone else do that? Remember weaving the newspaper? This is the same thing, except with MUCH prettier paper!

First, I made a card background, weaving normally, but with 4 different patterned papers - I think the finished product came out great. You'll see in a bit that not all my playing turned out quite as nice! (I like to publish the good and the bad - how else do you learn?! :) )


Next I decided to vary the widths of the papers - I alternated 1/4" and 1/2" strips. But I learned something - Doing this you end up with stripes instead of a checkerboard! But you do still get interesting texture. To get checkerboard you'd have to put all one color on the base and weave with all one other color. (Lesson learned!)


Next I cut the strips with curves - I learned this in a class I took with Peg Napier on altered books. It makes a really interesting effect - it's really bold in black and white (or other strongly contrasting colors). I decided to try it here with more muted tones. I like the way it came out.


Here's a closeup...


And finally, I covered a shape with weaving. The heart shape was a little challenging because at the top you can't really carry a piece all the way across - you have to use two smaller strips. But I really like the way it came out in the end.


Note on all of these that instead of doing the weaving and just cutting the ends off at the edge of the base, I actually folded the ends over and taped them on the back - I think it makes for a much neater, finished look.

See what you can come up with this month!

Like It - try regular weaving on a square or rectangle
Love It - try using curved strips
Gotta Have It - cover a shape!

The Original Scrapbox Giveaway!

The Original Scrapbox is having a giveaway for National Craft Month! I'm posting this on my blog to get a point! I would really like to have the Workbox. Check it out:
http://http://www.facebook.com/TheOriginalScrapbox

Saturday, February 19, 2011

Like It Love It Gotta Have It Project for March - Rosettes

I've seen a lot of rosettes lately on projects, but I had never tried making one myself until last month. I thought it would be a good project to share with you for our challenge this month. You can experiment with different sizes of rosettes, and different papers, border punches, and you can even weave ribbon into the edge! Here's how you do it:


Start by cutting a strip of paper - I used strips 1 1/2 inches wide by 12 inches long, but you can experiment with different sizes. Notice on one of the strips I tried using a border punch....


Next, make accordion folds the entire length of the strip - I folded at about every 1/4 inch. Now for those folks who really feel the need to be precise, you can mark your strip every 1/4 inch, but I just estimated. You know who you are! :)


Put a piece of STRONG tape on one end.


Then join the two ends.


It's going to stick up - not to worry! We'll make it flat in a minute! To do this we need to make a base - I just punched out a circle from a punch I had handy. You can cut a random little piece of paper -it doesn't matter what kind or color, because we're going to cover it up. Put glue on the base - I used a wet glue. A tacky glue would probably work fine too.


Then press the rosette onto the base and hold it until the glue is set. I found I needed to put something on top of it - it can take a while. Actually, one of my punches worked good to put on top - the accordion pleats make it strong enough tht the punch doesn't smoosh it.


There you have it! Now for the fun - finding something to put in the center and making variations of the basic rosette! Try different kinds of paper - don't be afraid to try stipes! Look below - I tried stripes in both directions:


And then I tried lacing ribbon through the edges of one (do the lacing before you put the strip into a circle):


Here is the one done with a border punch:


And finally, pick a topper for your rosette. You can use all kinds of things - small flowers, brads, buttons, and small die-cuts!


Let's see what you can come up with:

Like it: Just try making a rosette - any paper, any topper
Love it: Try a punched border
Gotta have it: try lacing the ribbon through the edge!